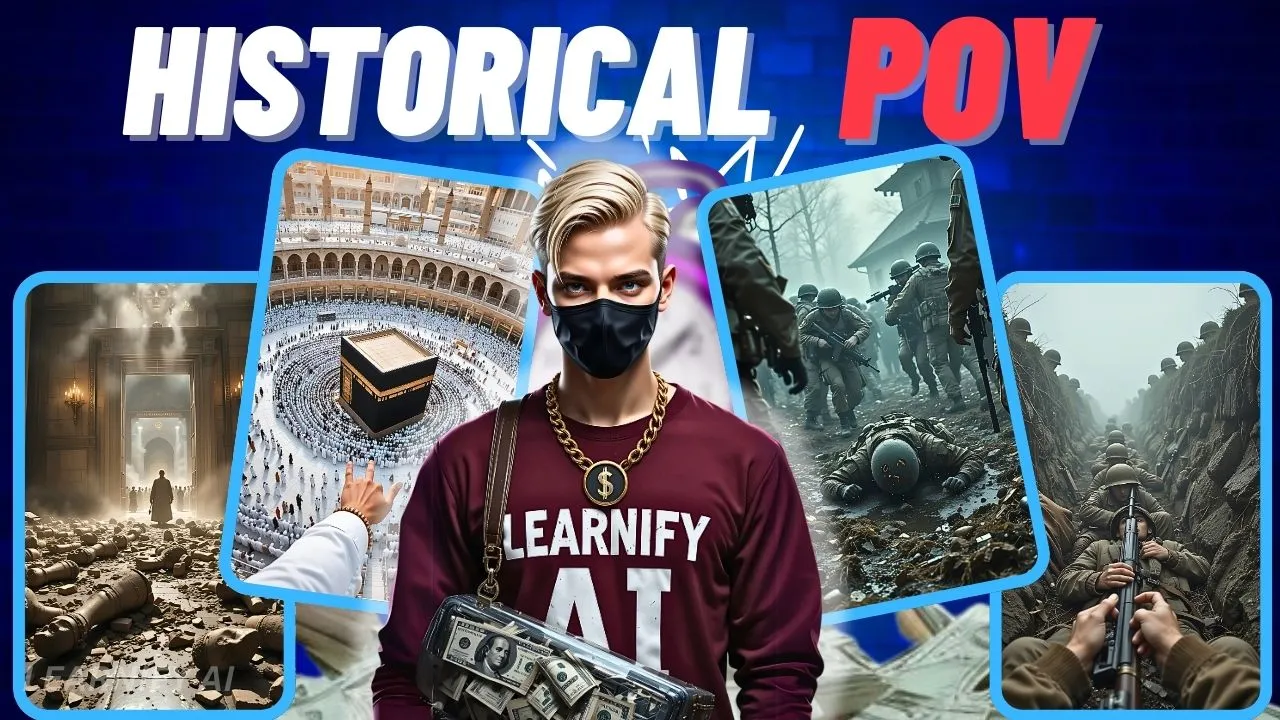
How to Create AI-Generated Historical POV Videos: A Step-by-Step Guide for Beginners
At this point, take a moment to imagine what it would be like to travel back in time. It’s not just about watching history; it’s about living it. Picture strolling through ancient Rome, witnessing the building of the Egyptian pyramids, or standing beside Lincoln at Gettysburg—all with the help of AI-generated time travel. In this guide, we’ll show you how to create hyper-realistic historical POV (point of view) videos using AI tools that make the past come alive before your very eyes. Want practical tips on how to create YouTube videos, produce playlists for YouTube, and start a faceless YouTube channel for cash?
This tutorial will guide you through all of these steps, from start to finish.
Step 1: Crafting Your Prompts
Effective prompts are the cornerstone of any AI-generated content. Here’s how to get started.
Where to Begin: First, look for POV videos on TikTok and YouTube. These videos are full of creative ideas and can provide the inspiration you need.
Write It: If you find a concept you like, move over to ChatGPT and start generating scenes. Ask ChatGPT to develop 10 scenes based on your idea. For example, if you want a POV film set in a World War 2 trench, ask ChatGPT to write prompts that capture the tension, atmosphere, and fear of the trenches.
A Prompt to Begin With:
- “POV: You wake up as a soldier in the trenches of World War 2—experience the tension and fear of waiting for an attack.”
Once your list of scenes is complete, you’ll need to structure them into detailed descriptions for AI image generation.
When you master how to write the right kind of prompts, ChatGPT will help you dictate commands and bring your scenes to life. These prompts will act as the foundation for the AI tools you’ll use later.
Step 2: Generating Your Images
Now that your prompts are ready, it’s time to produce the visuals.
Choose an AI Tool: Piclumen AI is great for photo creation. Just paste your prompt into the platform, select the right model (I recommend Art Version 1), and use a 9:16 aspect ratio, which works best for vertical video platforms like YouTube Shorts and TikTok. Once you’ve selected the settings, generate and save your images.
Organizing Images: As you generate your images, it’s helpful to organize them into folders to streamline your workflow. Quality visuals are invaluable in making your content stand out. The more detailed your prompts, the better your images will be.
Step 3: Animating Your Images
Now, let’s transform your static images into dynamic video clips.
Choose an Animation Tool: Tools like Hailuo AI, Kling AI, or RunwayML can help you bring your images to life. For this tutorial, we’ll use Tensor Art’s Wan 2.1 i2v model. Upload your moving camera images (if filmed at 24fps) and transform them into video clips that can be uploaded directly to YouTube.
Settings: Select the “stable generation mode” for higher-quality results, and make sure the resolution is set to 9:16. This ensures that your animation fits perfectly into YouTube Shorts and other vertical video formats.
By animating your AI-generated visuals, you’ll create lifelike videos that feel real and immersive.
Step 4: Improving Video Quality
To take your video quality to the next level, consider improving its clarity.
Enhancing Video Details: Clearer video equals more viewers and greater engagement. Don’t skip this step! Better quality will make a noticeable difference in the final product.
Step 5: Adding Music and Sound Effects
Sound design plays a crucial role in creating an immersive viewing experience. Here’s how you can add sound effects to make your video feel even more alive.
Sound Effects: For a trench warfare video, consider adding soldier conversations, distant artillery rumblings, or the eerie whistle of incoming mortar shells. These effects will add layers to the experience, making it more atmospheric.
Use Free Sound Libraries: Websites like Pixabay offer free, copyright-free sound effects. You can search for specific sounds like “battlefield ambiance” or “marching in heavy boots” to fit your scene.
CapCut Sound Library: If you’re editing in CapCut, take advantage of its built-in sound library. You’ll find dynamic sound effects and background noises to add just the right touch to your video.
Good sound effects will enhance the visual experience, bringing the historical atmosphere to life.
Step 6: Editing Your Video
Now, let’s finalize your video.
Editing in CapCut: Import your video clips and audio files into CapCut. Trim unnecessary parts, clean up the start and end of clips, and ensure smooth transitions. Don’t forget to add dynamic subtitles for accessibility and to keep viewers engaged.
Final Product: Once you’ve completed your edits, export your video in the highest quality possible. Before publishing it on YouTube or TikTok, take one last look to ensure everything is perfect.
Pro Tip: Consistent editing and high-quality content are key to growing your YouTube channel. Use dynamic subtitles and strategic editing to keep your viewers hooked.
Final Thoughts: Tips for YouTube Automation and Growth
Creating AI-generated historical videos is just the beginning. If you want your YouTube channel to thrive and turn into a profitable venture, follow these pro tips:
- Optimize Your Channel: Before posting, ensure your channel has a professional banner and an appealing profile picture. Fill out your channel description with relevant SEO keywords to attract more subscribers.
- SEO Strategy: Craft video titles, descriptions, and content for both search algorithms and human viewers. For example, instead of a generic title like “WW2 Trench Facts,” go for something more engaging like “What Soldiers Really Ate in WW2 Trenches—The Shocking Truth.”
- Smart Upload Strategy: Don’t overwhelm your audience with too much content. Aim for 1-2 long-form videos per week and 3-4 Shorts. This pacing helps YouTube understand your channel and avoids flagging it as spam.
- Patience is Key: Growth takes time. Stay consistent and focus on long-term progress. Even the most successful YouTubers started small.
Conclusion: Embrace the Future of YouTube with AI
AI-powered content creation on YouTube is a revolutionary way to build a faceless channel and explore various niches. With the right tools and strategies, you can create captivating historical POV videos that engage viewers and generate passive income. Automate your YouTube production process while maintaining high-quality content.
If you want to learn more about YouTube automation for beginners, take my YouTube automation course and discover how AI can help you create videos more efficiently. Whether you’re interested in YouTube shorts automation, faceless YouTube channels, or TikTok automation, the future of content creation is already here. Join the LearnifyAI community and start creating today!
Prompts:
Prompt 1:
You are a great video creator, and now I am going to create POV videos. Here are some ideas for your reference:
- POV: You wake up as a Chernobyl worker in 1986.
- POV: You wake up in 1351 during the Black Plague.
- POV: You wake up in Pompeii on eruption day.
- POV: You wake up during the WW2 blitz in 1941.
- POV: You wake up on a German war submarine in 1915.
- POV: You wake up on the Titanic in 1912.
- POV: You wake up as an English kid in the 2000s.
- POV: You wake up in Stranger Things.
- POV: You wake up in the prehistoric era.
- POV: You wake up as a caveman in 40 BC.
Prompt 2:
Give me more 10 POV video ideas related historical hot events.
Prompt 3:
1: POV: You wake up as a soldier in the trenches of World War I – Experience the tension and fear of being in a World War 2 trench, waiting for an attack. Give me 10 different scenes from a day in the life.
Prompt 4:
Give me detailed prompts for AI to generate images for each scene.
Then give me prompts to animate them in any video generator…
Each prompt should be at least 5-6 detailed sentences, making sure that it’s from first person view. Make it photo realistic.

